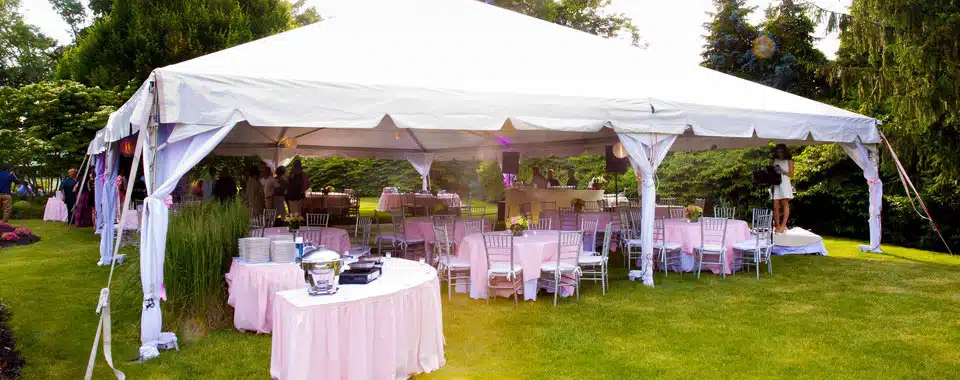
A wedding tent keeps your guests comfortable and has a significant impact on the look of the event. For that perfect look, you have to layout your tent properly.
Wondering how do you layout a wedding tent? Here is how to go about it:
Rent the right tent shape
Everything begins here, as there is no way you will create the perfect look with the wrong tent. When it comes to tent shapes, you have four shapes to choose from: square, circle, oval, and rectangle.
For the perfect look and to maintain uniformity, choose one shape for all areas of the event. This means from the reception to the dance floor, the dining area should have a tent of the same shape.
Layout the tents
After getting the tents from the local wedding tent rentals, the next thing is to lay them out. To help you out, here is a guide on how to layout the different tent shapes.
For the square tents, place a round or square dance floor at the center of the tent and host a bar outside the tent or angle it in a corner away from other activities.
If you don’t have a dance floor, line the tent’s edges with circle-shaped tables but leave the middle open.
Do you have a rectangular tent? Place a square dance floor in the middle of the tent and move it to the top of your floor plan. Put the buffet tables on one edge of the tent and a bar or gift table on the other.
The DJ booth should be above the dance floor and the bar or refreshments below it. Complete the look by placing round tables on both the remaining two sides.
If you want to have a thrust dance floor, place a rectangular dance floor that begins on one side of the tent and ends in the middle. Mix and match square and circular tables on either side and place a small rectangular table opposite the dance floor.
Place a round dance floor in the middle with four rectangular tables evenly spaced outside it, pointing towards the edge for circular tents.
You should then create a pathway going down the tent’s center and place a half-moon-shaped dance floor on one side and tables on the other.
If you have an oval tent, place a stage and dance floor stacked above one another on the flat side of the oval and stage tables around the perimeter.
For the banquet seating, place one long table for everyone to eat dinner and put your dance floor and stage at the very end of the tent.
Use a template
If you have a problem laying out your tent, use a template to guide you. You can use three of the common templates: aligned, staggered, and U-shape.
A staggered layout is best to encourage mingling between the tables. Aligned is best when you want to create an audience-like feel, and the U-shape works best for smaller wedding parties or micro weddings as it encourages everyone to eat together and dance in the middle afterward.
Have a seating chart
To organize your wedding event, you should create a seating chart that helps everyone know whether they should sit when they arrive. You should then have a dedicated person showing the guests where to sit when they arrive.
Pay attention to lighting.
Lighting not only keeps your event lighted up, but also comes in handy in creating the theme of the event. Due to this, you should be cautious of the lights you choose for your big day.
When choosing the lights, go with weatherproof, outdoor string bulb lights around the perimeter of the tent.
It also doesn’t hurt crisscrossing at least six strands inside the tent’s roof to give the space a nice glow at night.
Wrap the lights around the poles if it’s safe to do it.
Add pendant light to the center or above the sweetheart table to draw the eye to create a statement.
To have an easy time with the lights, rent them from the same tent rentals Rockland NY you rented the tent and other wedding accessories. The reason for this is that in addition to getting a large discount, it also reduces your work, as you don’t keep moving from one store to the other.


